

How to Fill, Fix & Seal Your Home Before Winter: Cracks, Gaps, Holes and Draughts Explained
Most winter problems in a house start with a gap. A crack lets in damp, a shrunken bead of sealant lets in rain, and a gap under a door lets out heat. The good news is that nearly all of them can be fixed in an afternoon with a tube of something and a knife.
The hard part is knowing which tube. This guide explains what to use for every crack, gap and hole in your home, how to apply it properly, and when a problem is bigger than a DIY fix. Everything we mention is in stock online, and you can order it for Click & Collect from your local Home Hardware store.
Quick Answer: What Should I Use to Fill This Gap?
Find your problem in the left-hand column. The rest of the guide explains each one in more detail.
| The problem | What to use | Our pick |
|---|---|---|
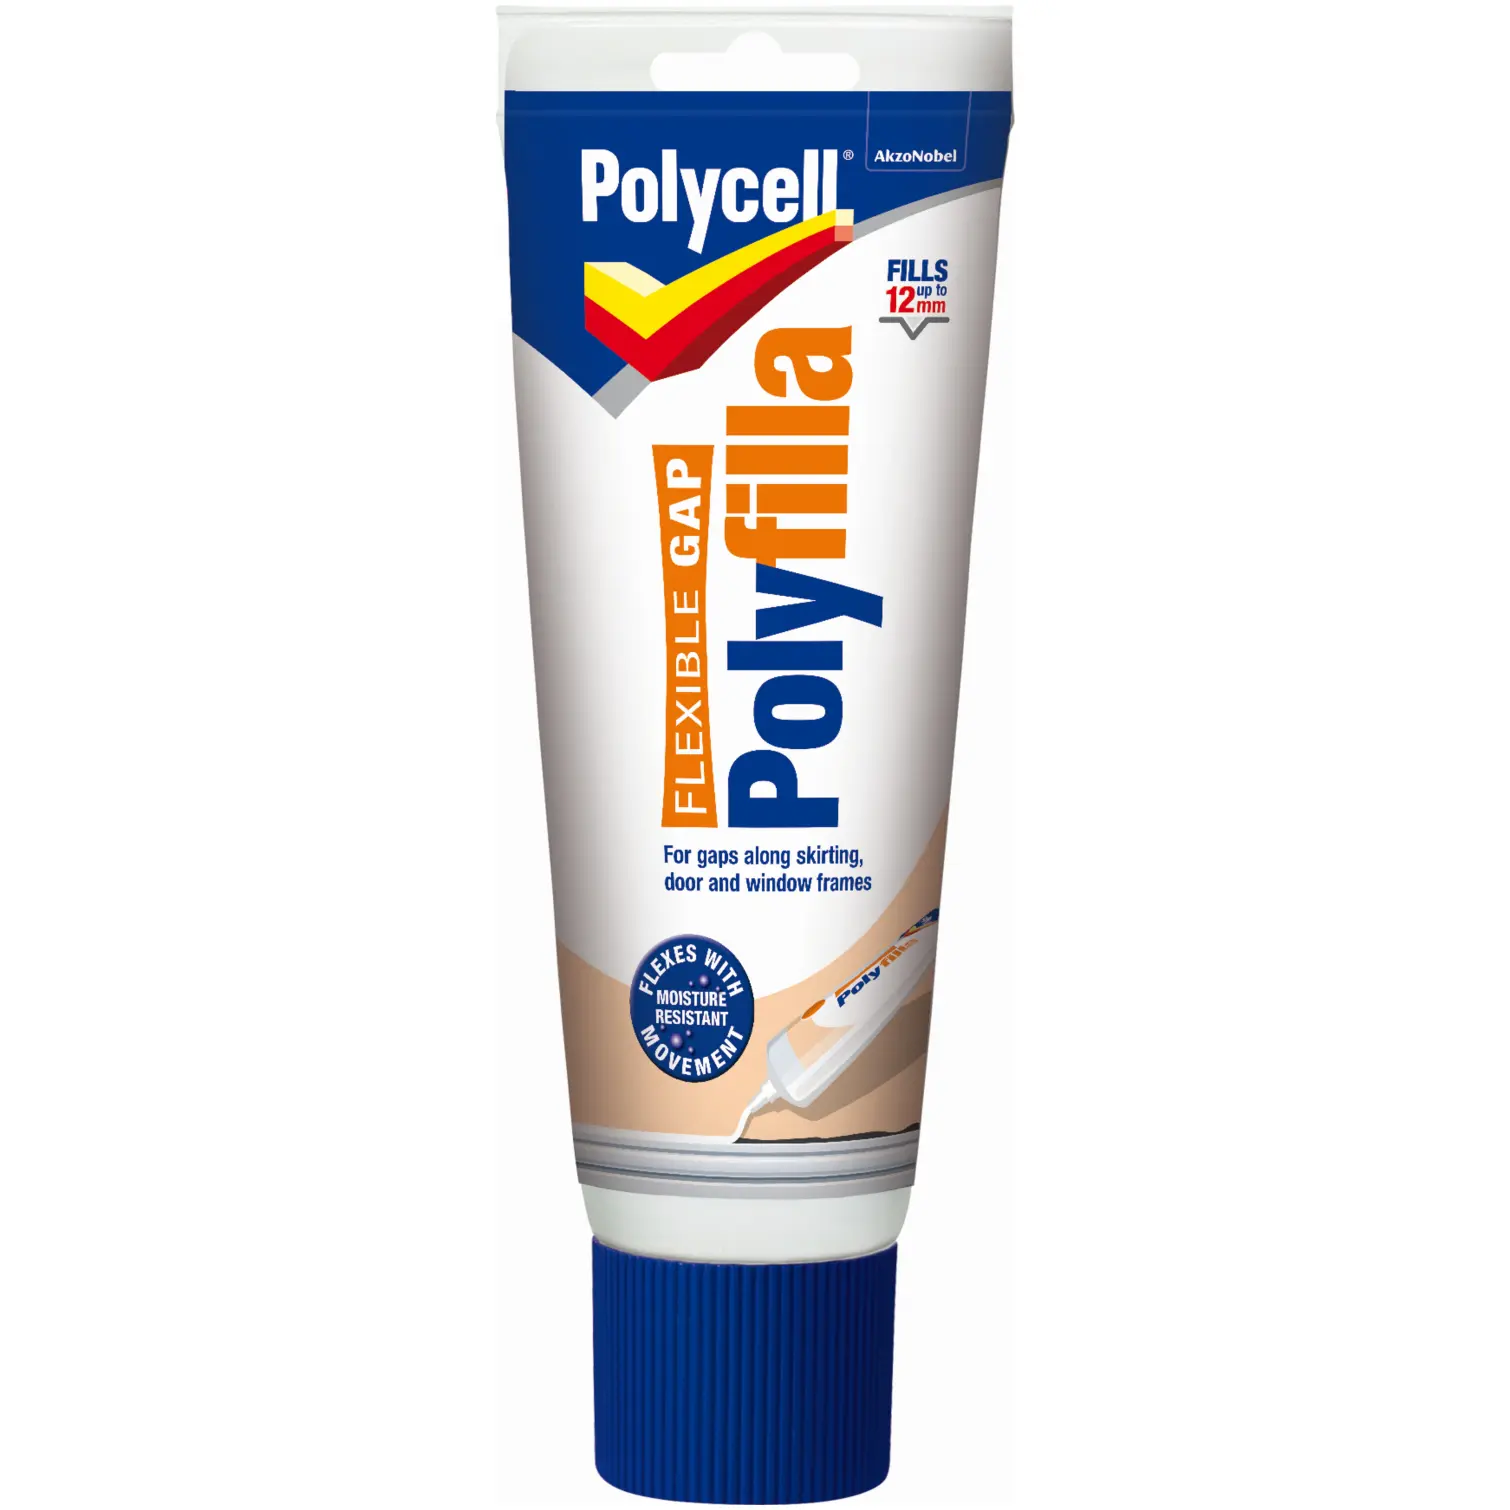
| Hairline crack in a wall or ceiling | Flexible filler | Polyfilla Flexible Filler Tube |
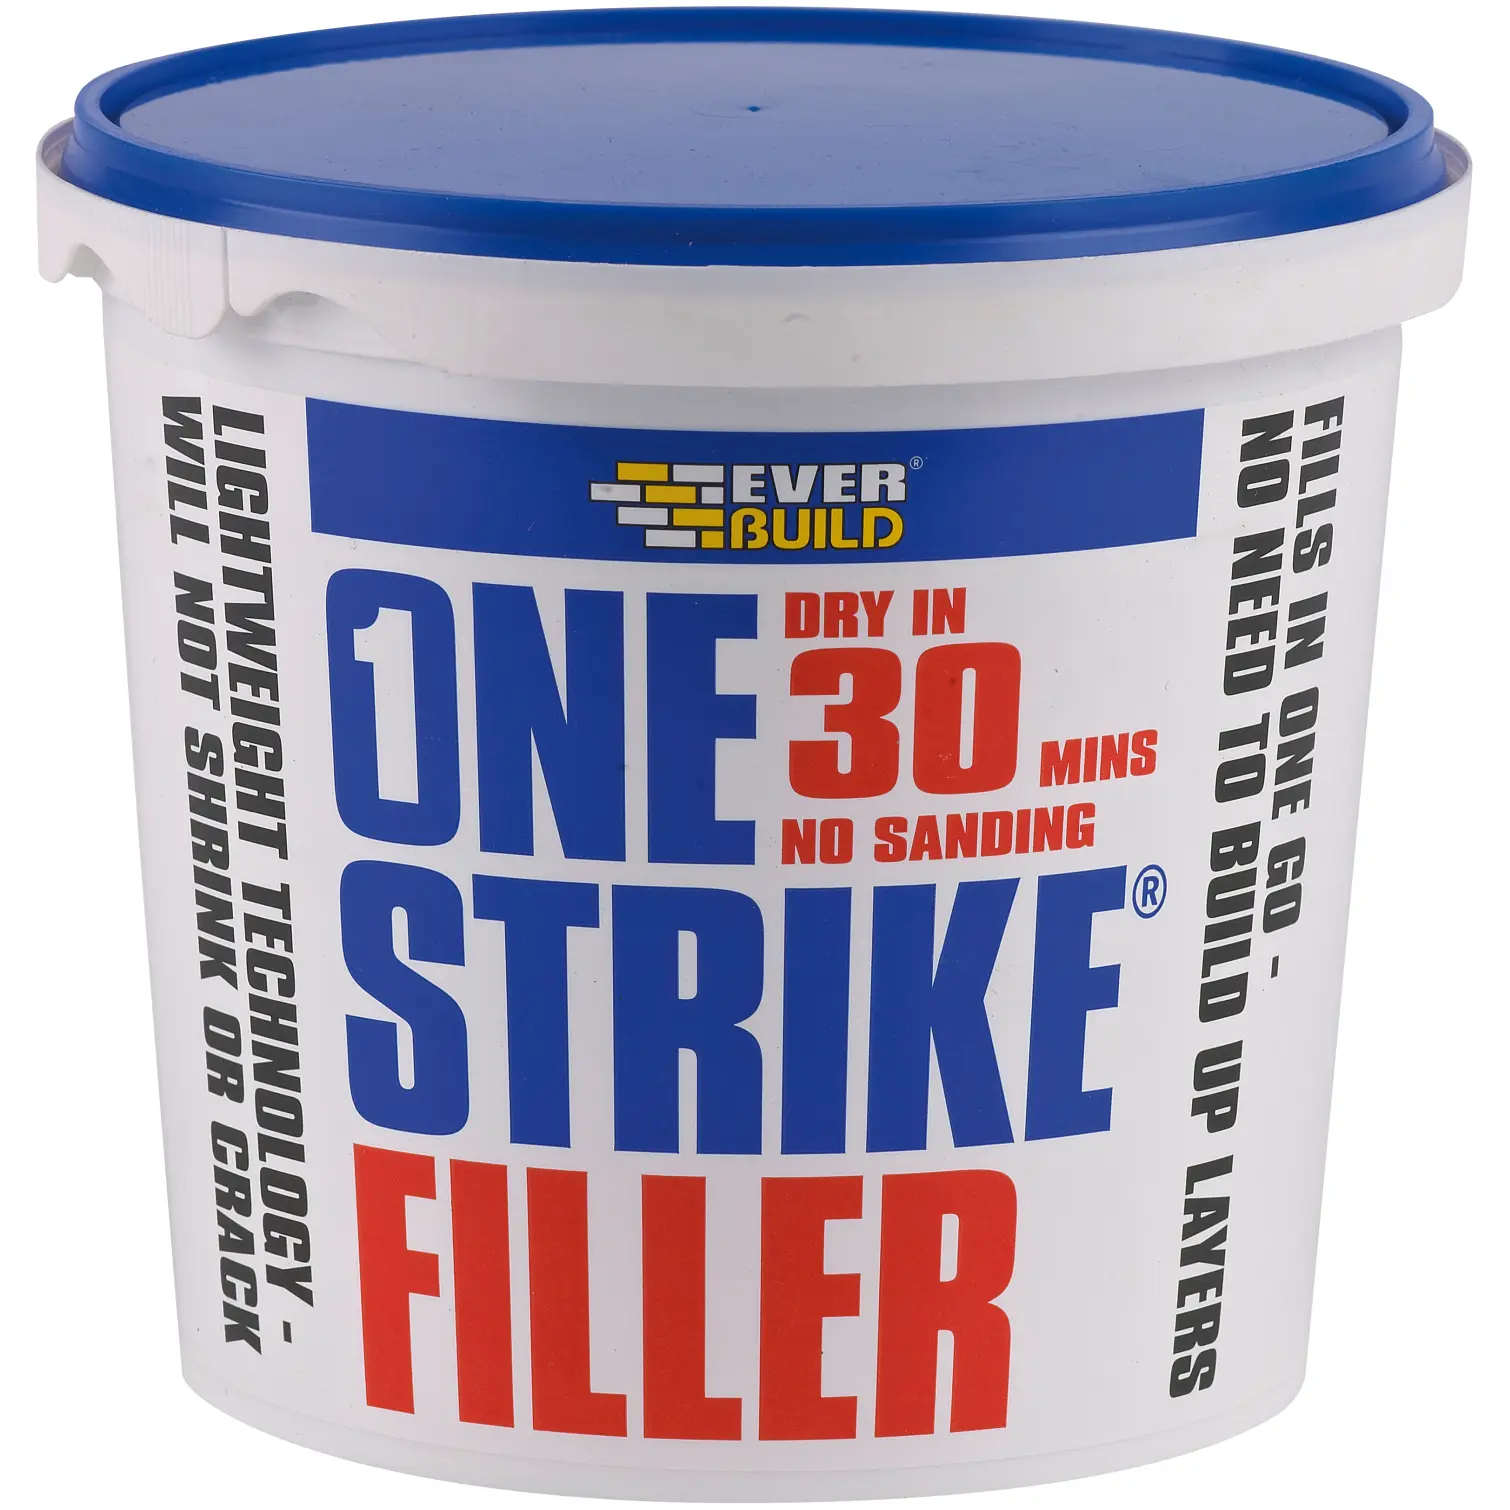
| Small holes, dents and screw holes | Ready-mixed multi-purpose filler | Everbuild One Strike Filler 450ml |
| Deep holes or damaged plaster | Lightweight or ready-mixed plaster repair | Polycell Plaster Repair Ready Mixed 2.5L |
| Holes and dents in wood | Wood filler | Ronseal Multi Purpose Woodfiller Natural 325g |
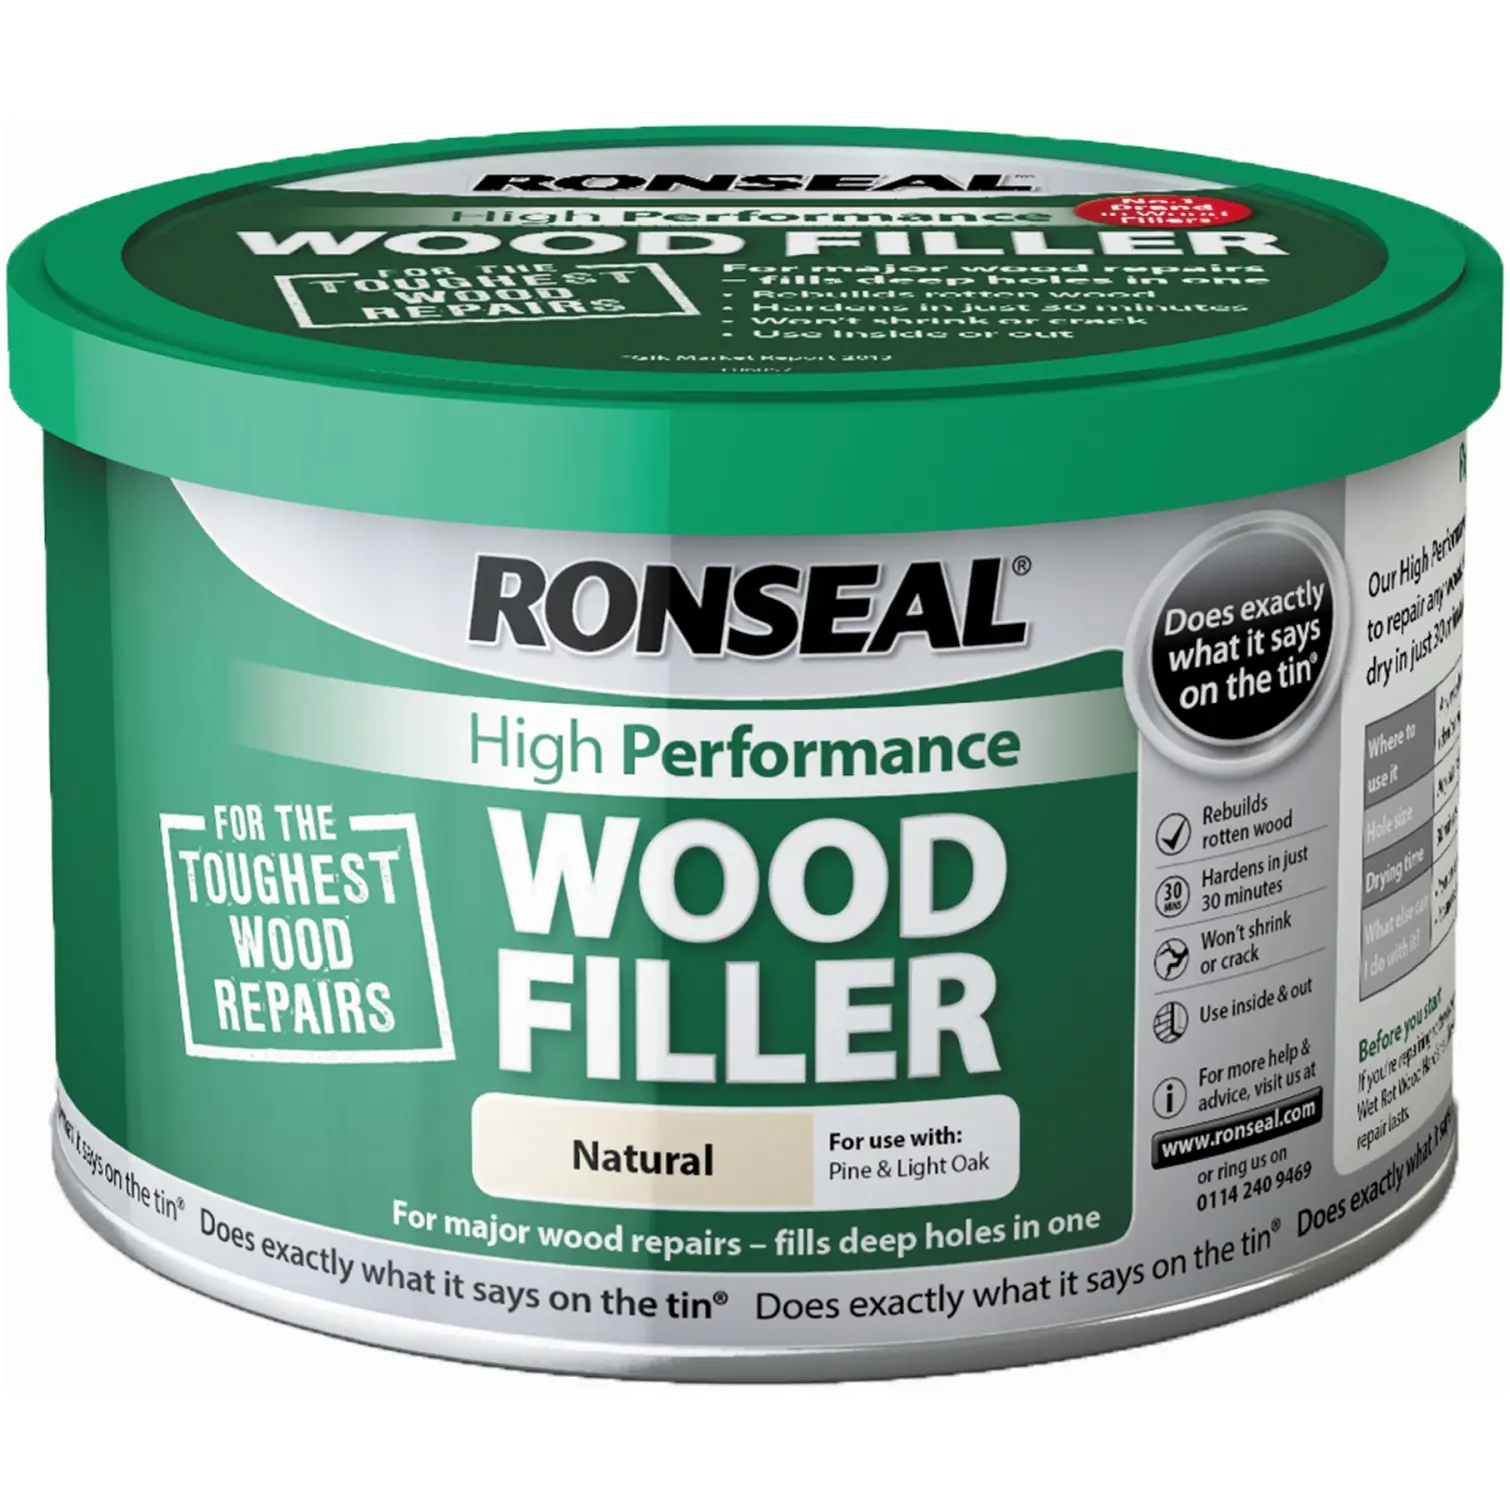
| Rotten window sills and frames | Two-part wood filler | Ronseal High Performance Woodfiller Natural 275g |
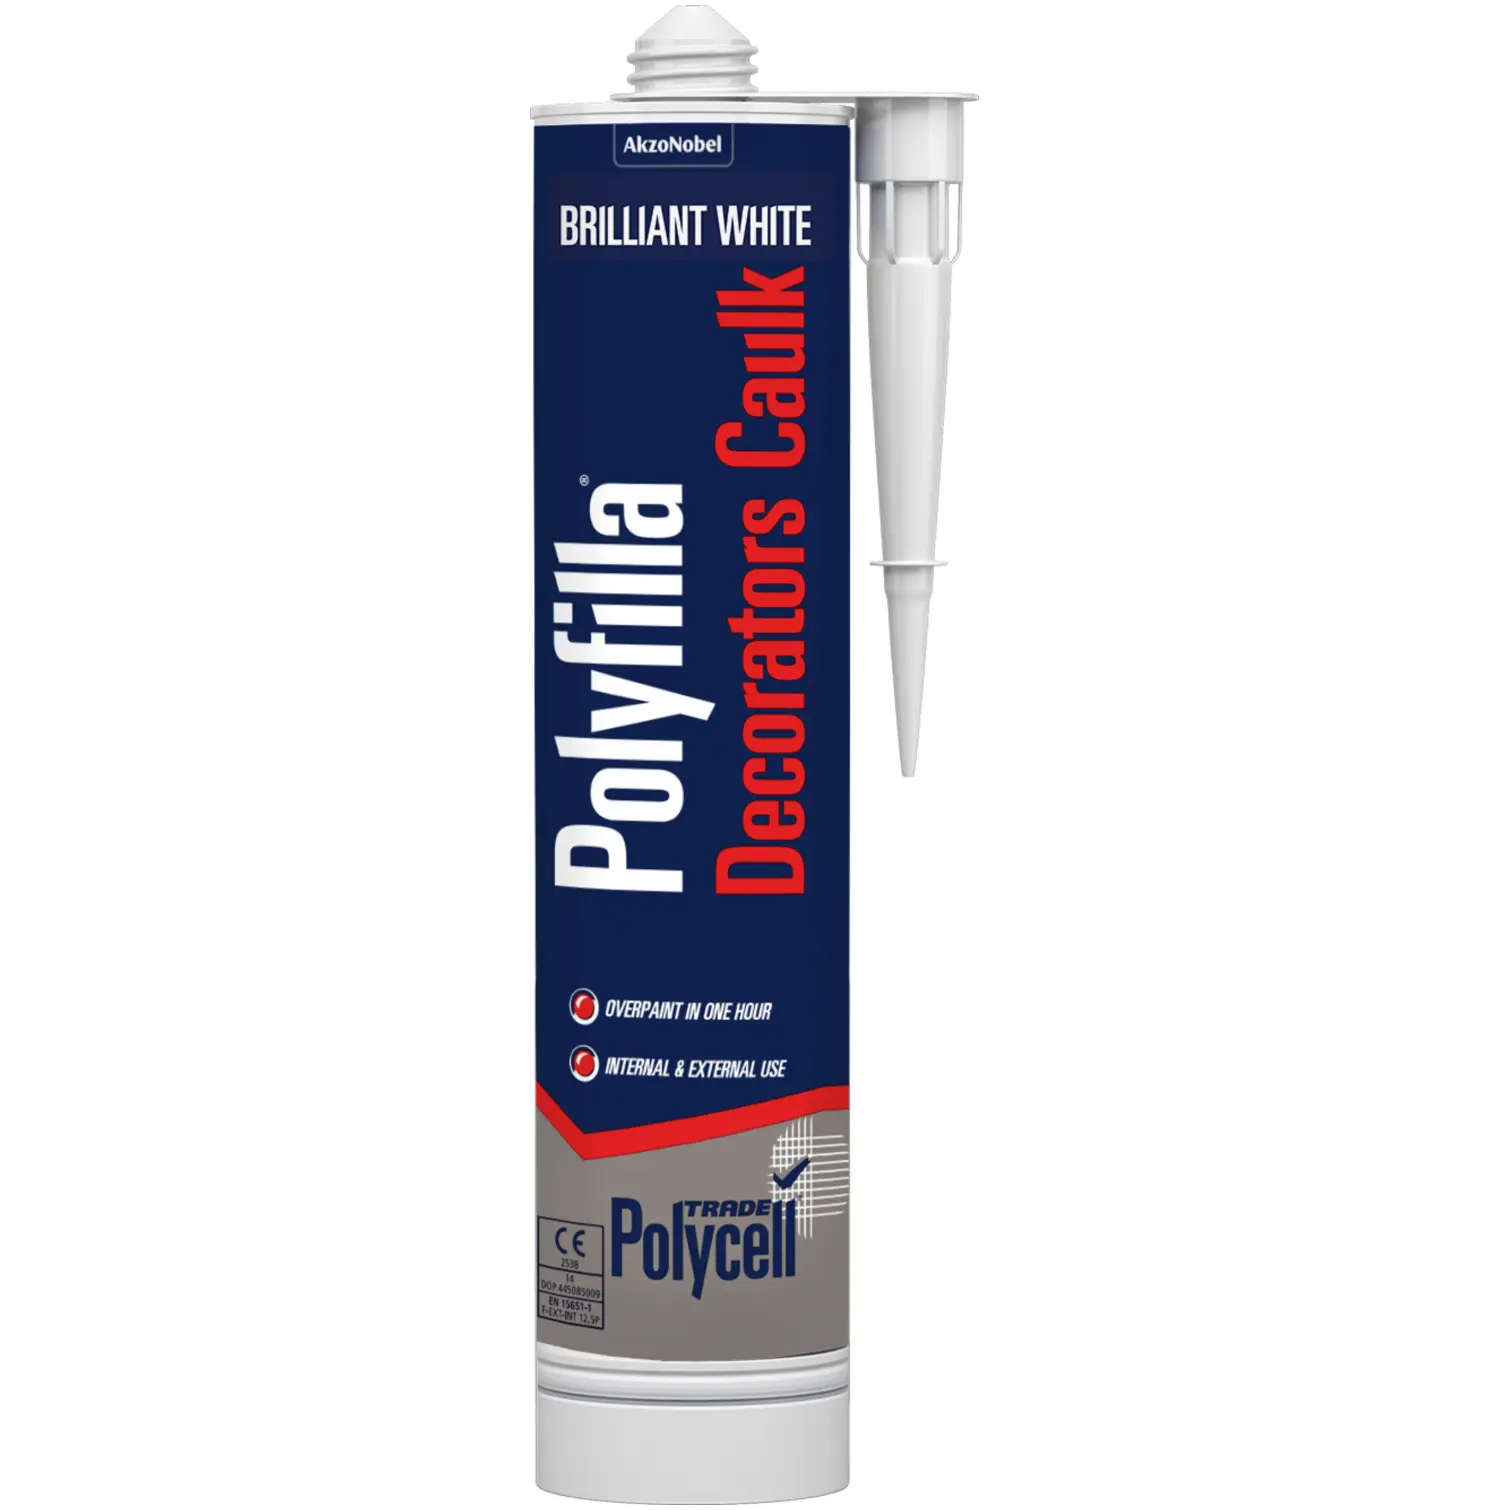
| Gap between skirting board and wall | Decorators caulk | Polycell Decorators Caulk 290ml |
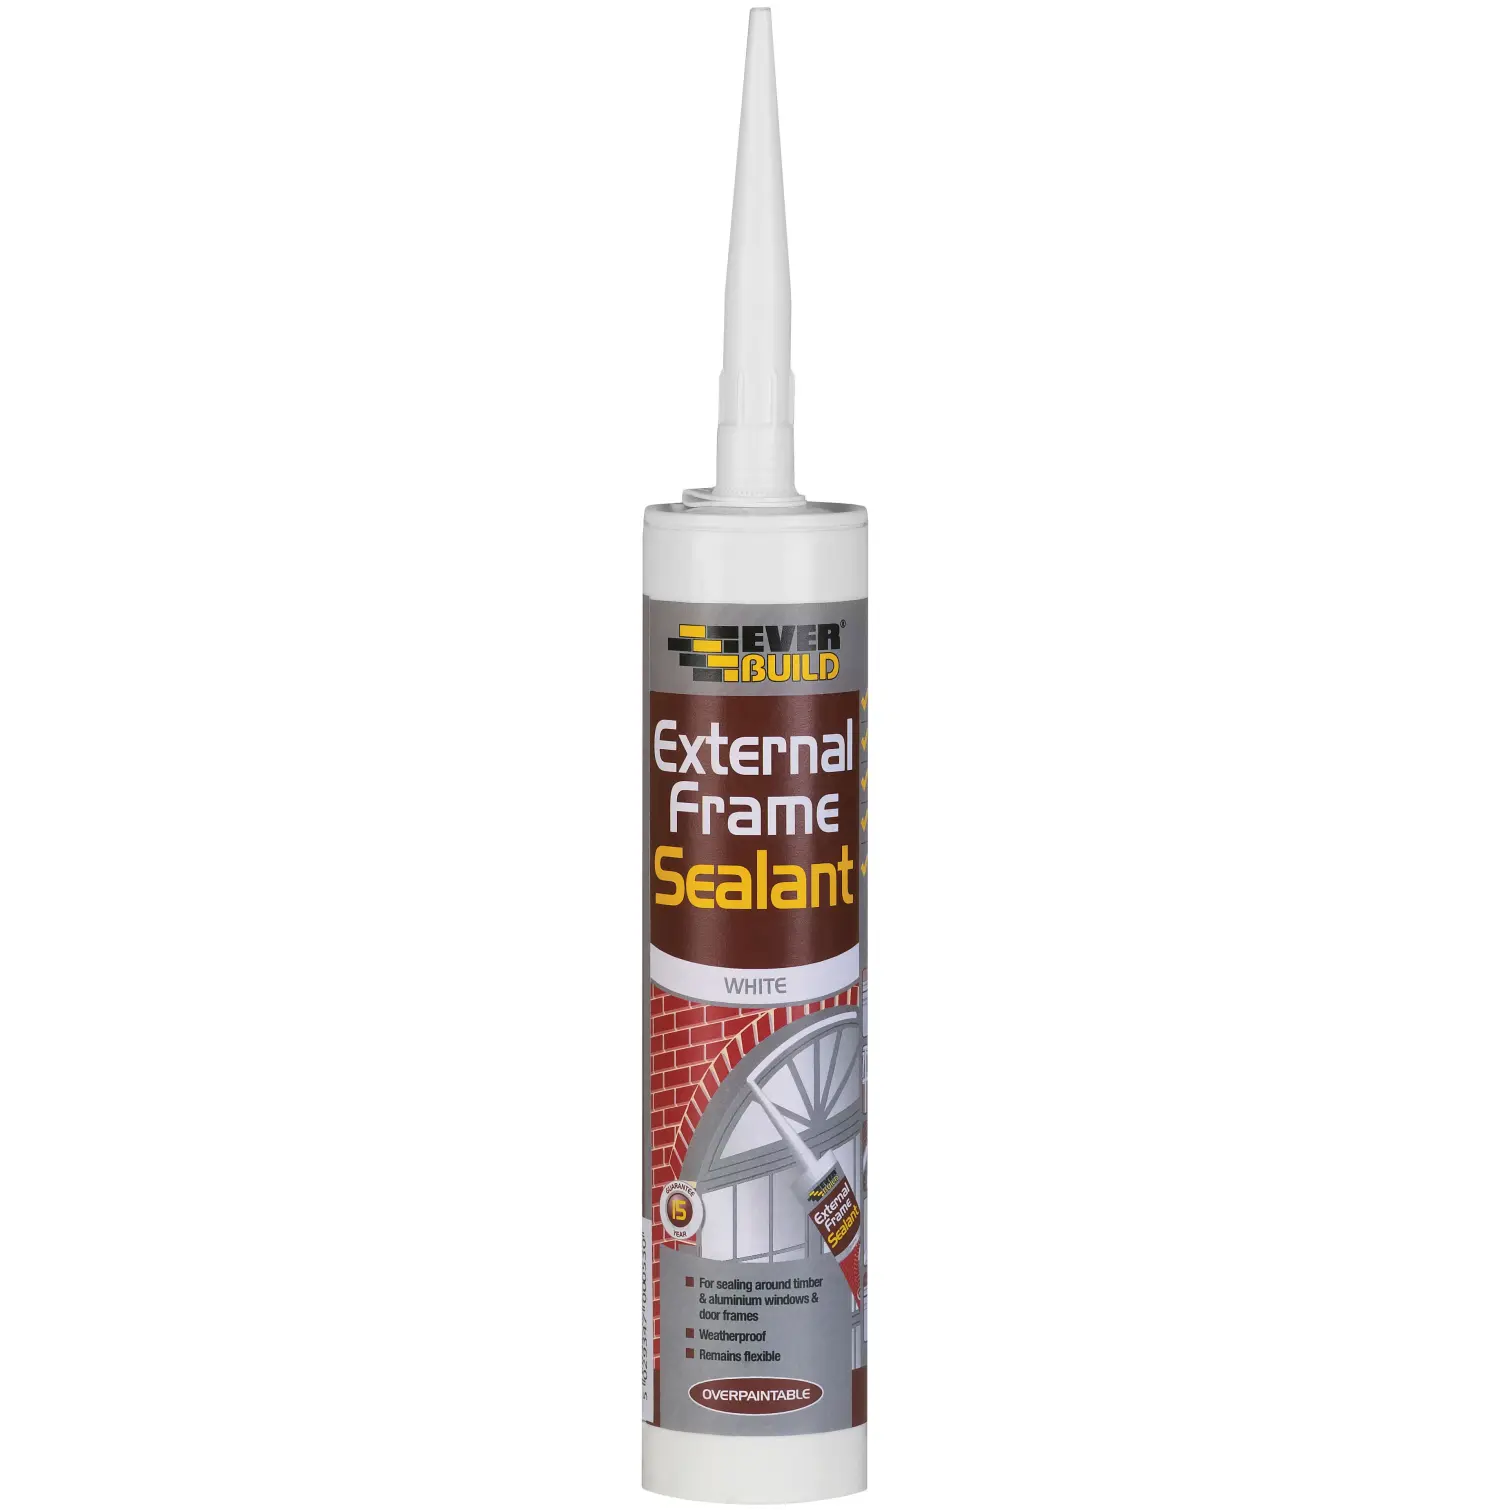
| Gaps around the outside of window frames | Frame sealant or neutral cure silicone | Everbuild White 290ml Frame Sealant Acrylic |
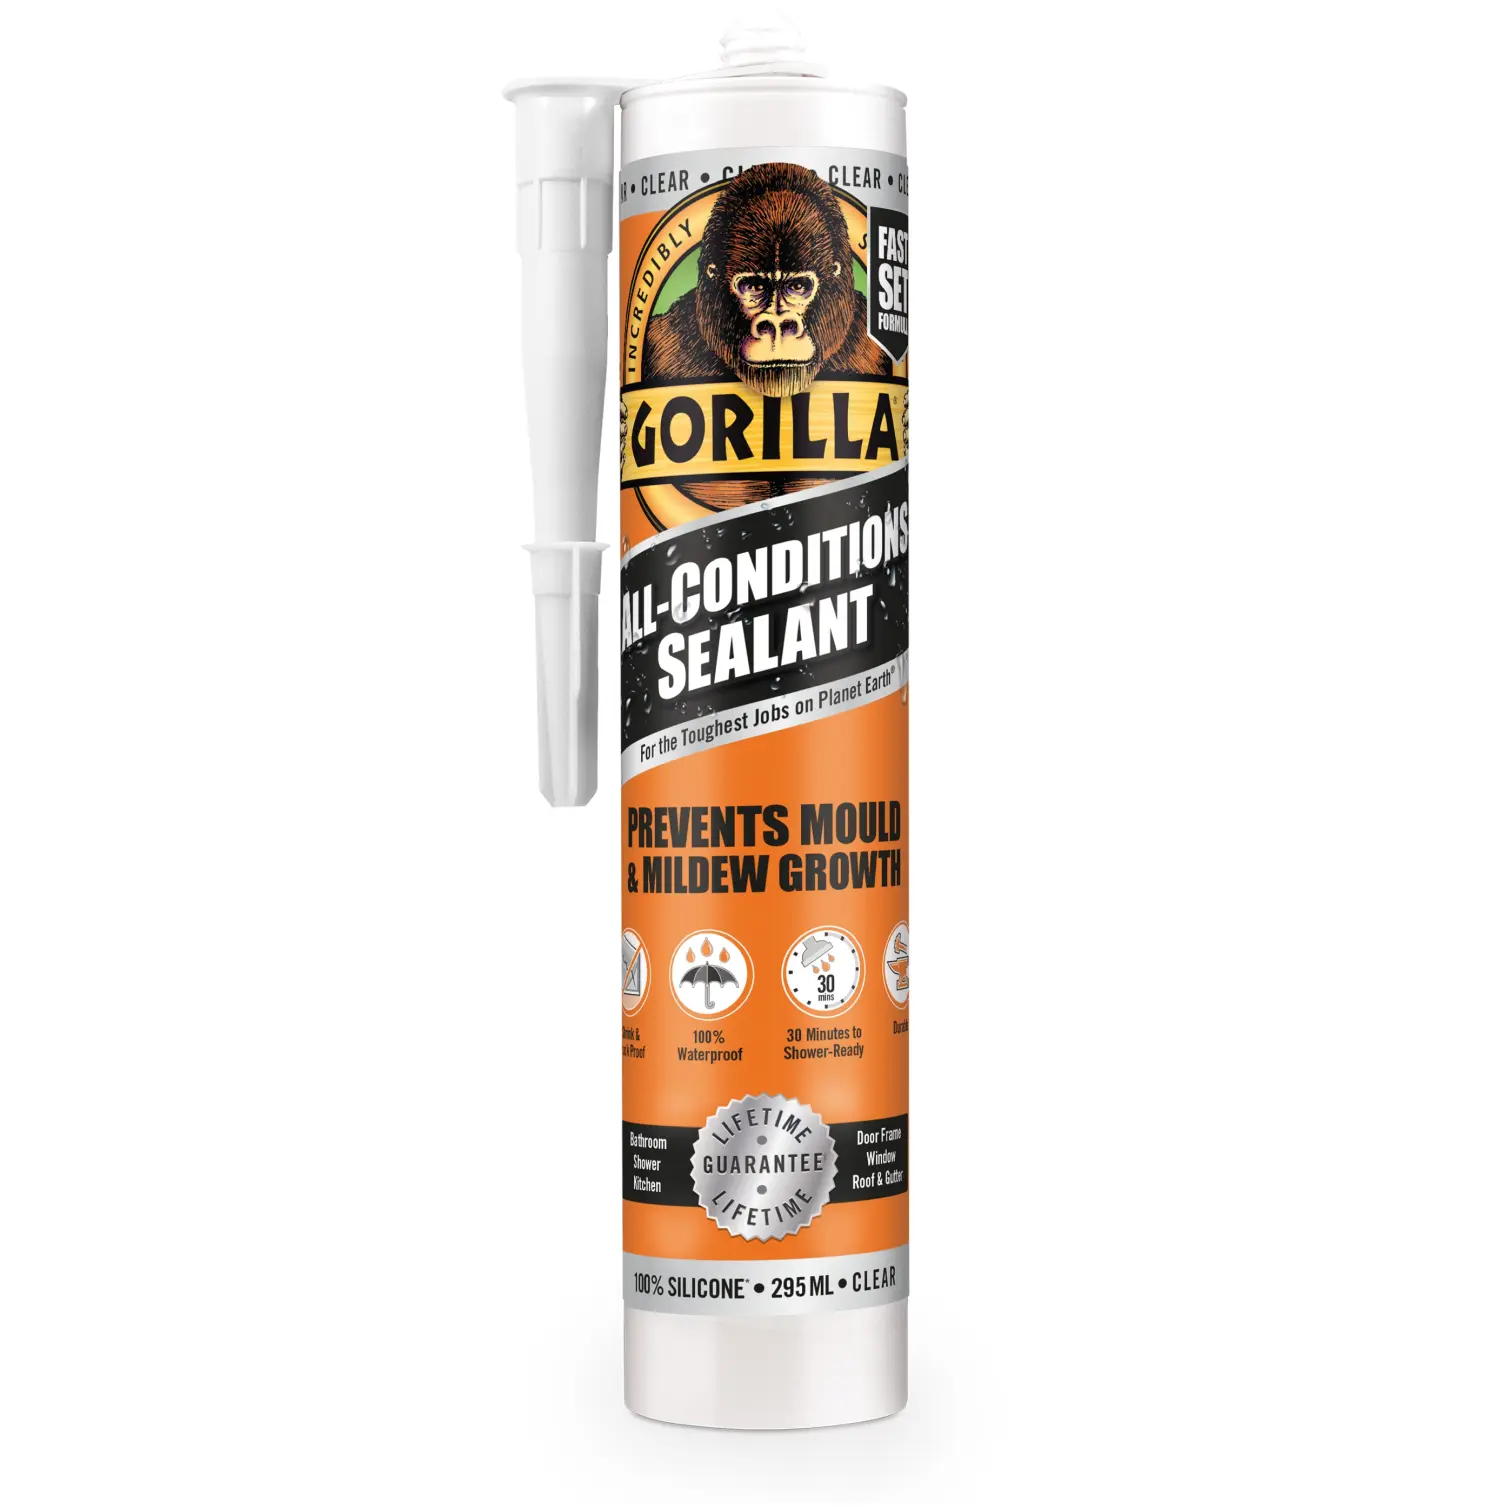
| Around the bath, shower or sink | Waterproof, mould-resistant sealant | Gorilla All-Conditions Sealant |
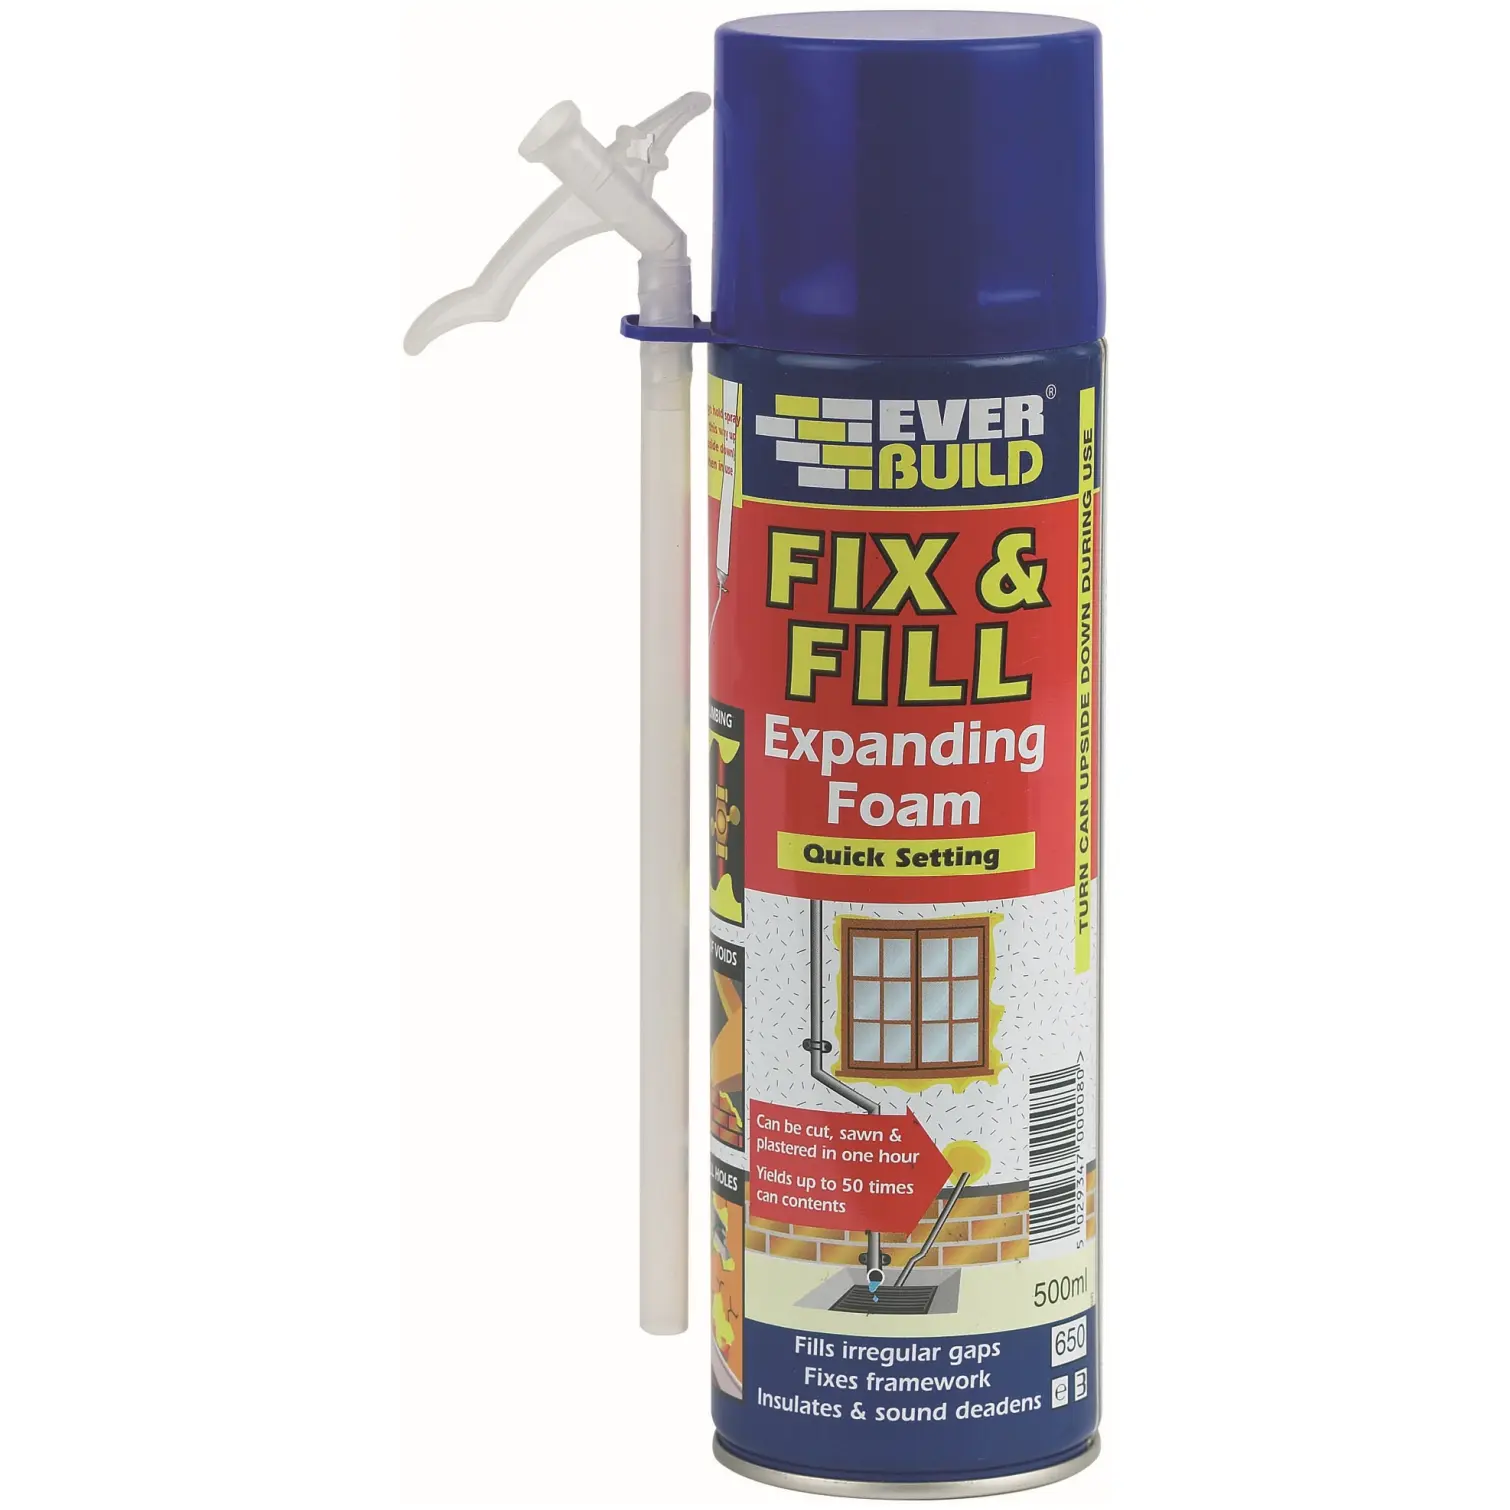
| Big, irregular gaps around pipes and frames | Expanding foam | Everbuild 500ml Fill +Fix Expanding Foam |
| Cracks in outside render or brickwork | Exterior filler | Polyfilla Weatherproof 1kg |
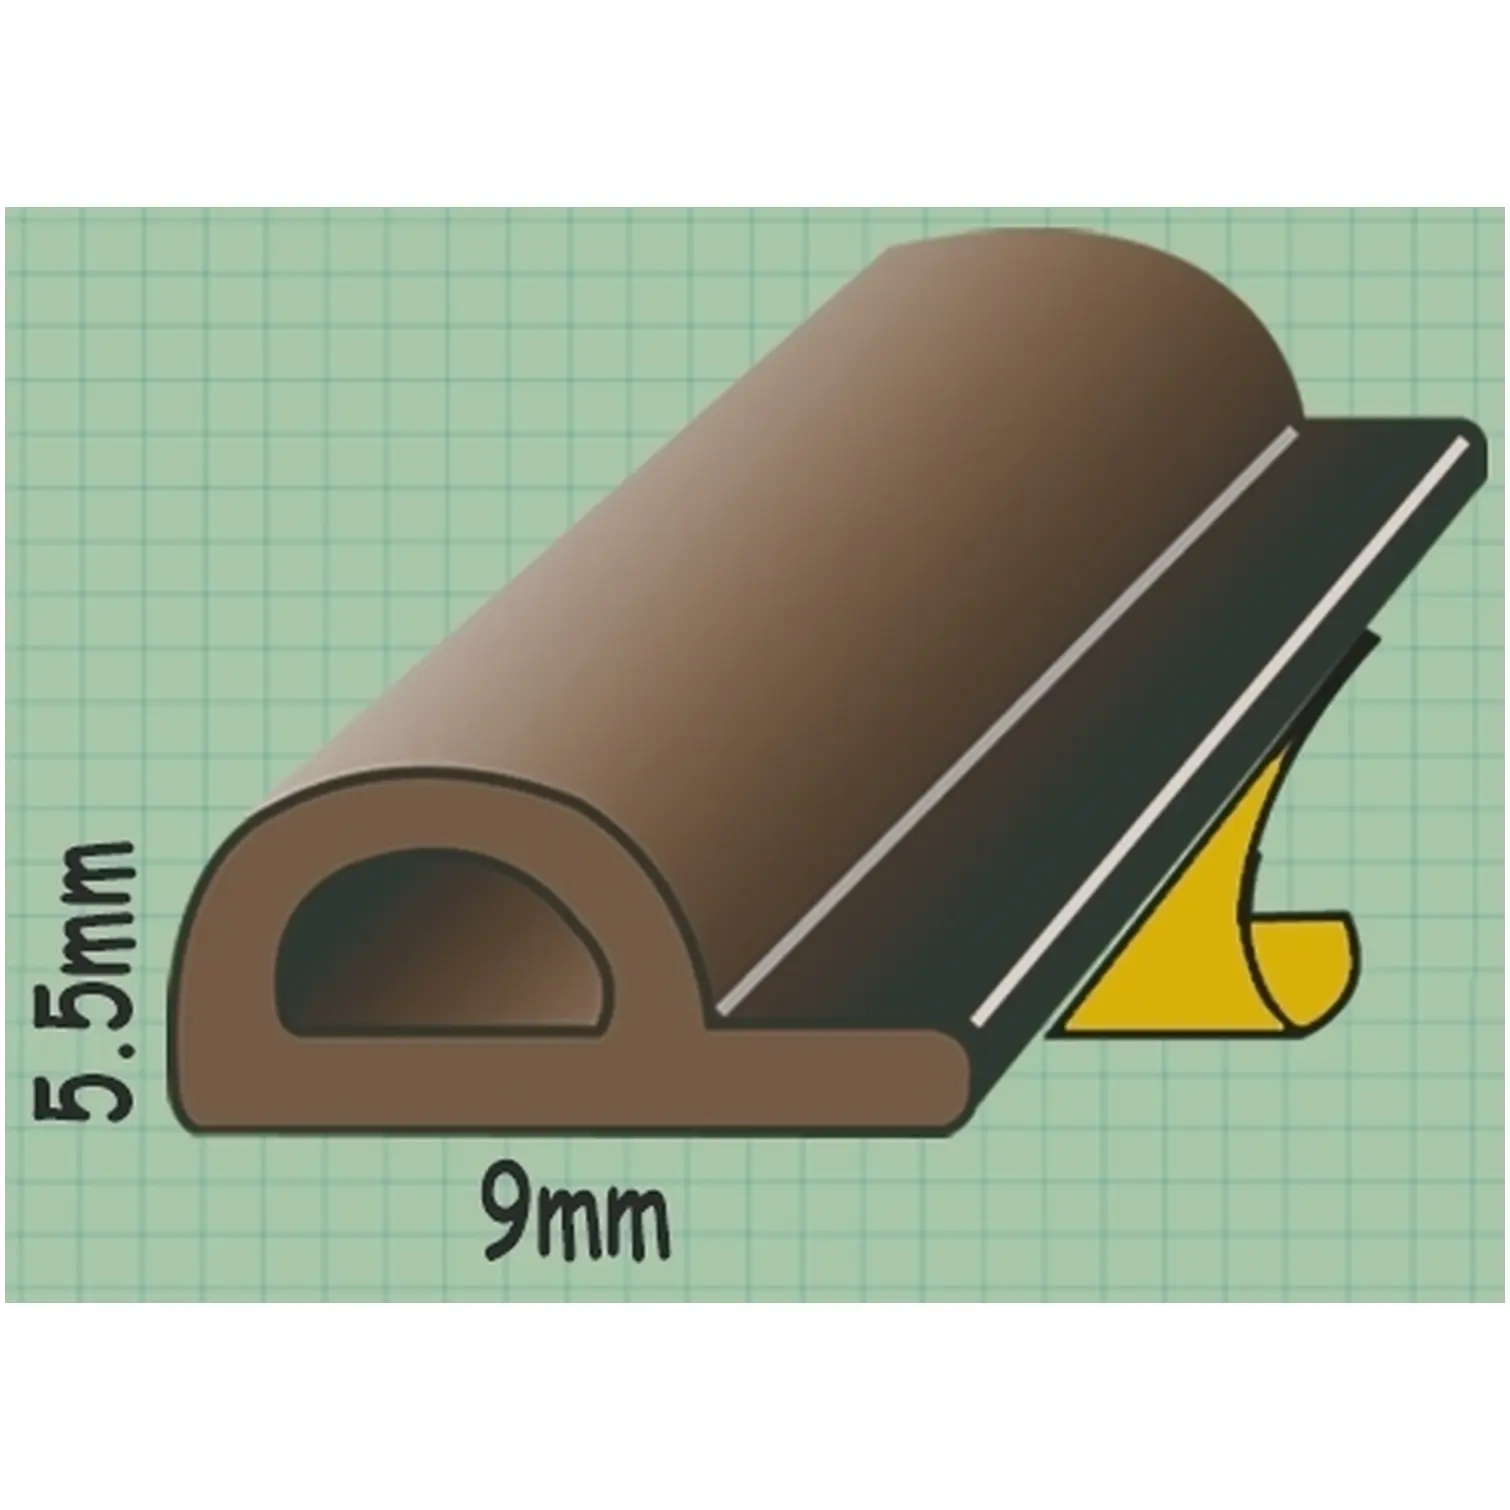
| Draughts around doors and windows | Draught-proofing strip | Exitex P Strip 5m White |
| Loose skirting, trim or coving | Grab adhesive | Everbuild Overpaintable Instant Nails White |
Filler, Caulk or Sealant: What’s the Difference?
People use these words as if they mean the same thing. They don’t, and using the wrong one is the main reason repairs crack or fail after a few months.
- Filler sets hard. It fills holes and cracks in surfaces that don’t move, then you sand it smooth and paint over it.
- Caulk stays slightly flexible and can be painted. It’s for gaps between two surfaces indoors, like a skirting board and a wall.
- Sealant stays flexible and keeps water out. Silicone is the best-known type, and it’s for wet areas and outside joints.
- Adhesive sticks things together. Some products, like CT1 Adhesive & Sealant White 290ml, seal and stick.
- Expanding foam fills big, irregular gaps and insulates, then you trim it back and seal over it.
A simple rule: if it moves, seal it. If it doesn’t, fill it.
How to Fill Cracks in Walls
Most cracks in plaster are harmless. Houses expand and contract with the seasons, and when the heating goes on in autumn, hairline cracks appear around door frames, at ceiling corners and where walls meet.
Step-by-Step: Filling a Hairline Crack
- Open it up slightly. Run the corner of a scraper along the crack to remove loose plaster and give the filler something to grip.
- Brush out the dust and wipe with a damp cloth. Filler won’t stick to dust.
- Press the filler in with a filling knife, drawing it across the crack rather than along it.
- Leave it slightly proud of the surface, as most fillers sink a little as they dry.
- Sand it flush once dry with a flexible sanding sponge, then wipe off the dust before painting.
For cracks that keep coming back in the same place, switch to Polyfilla Flexible Filler Tube. It’s made for gaps where there’s a bit of movement, so it won’t crack again the next time the house shifts. For a long crack where the wall meets the ceiling, decorators caulk is often the better choice.
When a Crack Is More Than Cosmetic
Be honest with yourself here. Filler is not the answer if a crack is wider than about 5mm, runs diagonally from the corner of a window or door, steps through brickwork outside, or keeps getting wider. Those can be signs of movement in the structure, and it’s worth getting a surveyor or builder to look before you cover it up.
Best Filler for Plaster: Which One Should You Buy?
For most people, one good ready-mixed filler covers 90% of jobs. Here’s how the main options in our decorating fillers range compare.
| Filler | Best for | Why we like it |
|---|---|---|
| Everbuild One Strike Filler 450ml | Most holes and cracks, including deep ones | Fills in one go without sagging or shrinking, ready to paint in about 30 minutes |
| Polycell 600g Polyfilla Multi-Purpose Tub | Everyday holes, dents and cracks | Ready-mixed and creamy, a reliable all-rounder |
| Polycell 1.8kg Polyfilla Multi-Purpose Powder | Big jobs and lots of holes | Mix as much as you need, so it’s the best value for a whole room |
| Ronseal Smooth Finish Filler 600g+50% | A very smooth finish | Easy to sand, surface dry in 1 to 2 hours, won’t shrink or crack |
| Polycell 400g Polyfilla Fine Surface Tube | Shallow dents and surface marks | Fine texture for skimming over small imperfections |
| Gorilla Wall Filler 473ml | Plaster, brick and masonry | Strong bond, dries quickly for sanding and painting |
| Polycell Plaster Repair Ready Mixed 2.5L | Larger areas of damaged plaster | Ready-mixed plaster repair, no mixing bucket needed |
If you only buy one, make it Everbuild One Strike Filler 450ml. It’s light, it doesn’t slump in deep holes, and it’s ready to paint in about half an hour.
How to Fill Large Holes in Plaster
For a hole bigger than a 50p, build it up in layers rather than in one thick blob. Let each layer dry before adding the next. If the hole goes right through plasterboard, you’ll need a patch behind it first. For larger areas where the plaster has blown or crumbled, Polycell Plaster Repair Ready Mixed 2.5L is ready-mixed and easier for a beginner than mixing bag plaster. A Stanley 3 piece scraper set gives you a wide blade for spreading and a narrow one for corners.
How to Fill Holes Before Painting
Old screw holes, wall plug holes, picture hook holes and the dents from furniture all show through new paint, especially in a matt finish. Fill every one before you decorate.
- Pull out old wall plugs with pliers or push them in below the surface, then fill over the top.
- Overfill slightly and sand flush. A cork sanding block keeps the surface flat.
- Spot-prime filled areas or give them a thinned coat of emulsion first. Fresh filler soaks up paint, and the patches can show through as dull spots.
- Use a torch held flat against the wall to spot dents you’d otherwise miss. Low light shows every bump.
For the full preparation routine, from sugar soap to masking, see our DIY decorating guide.
How to Fill Holes and Cracks in Wood
Wood needs its own filler. Wall filler is too brittle and will crack as the wood moves.
Indoor Woodwork: Skirting, Doors and Furniture
Ronseal Multi Purpose Woodfiller Natural 325g is for small repairs to trim, doors and furniture. Apply it in layers of up to 5mm, sand it once dry and paint or stain over it. It comes in several shades, including natural, oak and white, so you can match it to bare wood. Polyfilla Woodflex is another good flexible option for splits and cracks. For scratches on varnished furniture, Briwax wax filler strips blend in without sanding.
Outdoor Wood: Window Sills and Frames
For rotten sills and frames outside, use Ronseal High Performance Woodfiller Natural 275g. It’s a two-part filler, which means it sets hard by chemical reaction rather than drying out, so it won’t shrink or crack and copes with outdoor weather. Dig out all the soft wood first, back to sound timber, then fill and sand. It dries in about 30 minutes.
Caulk vs Silicone: Which Should You Use?
This is the question we get asked most often, and it’s simple once you know the rule. Caulk can be painted but isn’t waterproof. Silicone is waterproof but can’t be painted.
| Decorators caulk | Frame sealant (acrylic) | Silicone | Hybrid polymer (CT1, Stixall) | |
|---|---|---|---|---|
| Best for | Indoor gaps along skirting, architrave and coving | Outside of window and door frames | Baths, showers, sinks, glass | Tough jobs indoors and out, sealing and sticking |
| Can you paint it? | Yes | Yes | No | Yes |
| Waterproof? | No | Weather resistant once cured | Yes | Yes |
| Flexibility | Some | Good | Very good | Very good |
| Price | Cheapest | Low | Low to mid | Highest |
| Our pick | Polycell Decorators Caulk 290ml | Everbuild White 290ml Frame Sealant Acrylic | Everbuild Builders Silicone | CT1 Adhesive & Sealant White 290ml |
When to Use Decorators Caulk
Use caulk for any gap indoors that you’re going to paint: along the top of skirting boards, around door architraves, at the edge of coving and along cracks where walls meet ceilings. Polycell Decorators Caulk 290ml can be painted in as little as an hour, and at under £3 a tube it’s the cheapest way to make a room look professionally finished.
When to Use Silicone
Use silicone wherever water is involved or you need a long-lasting flexible seal that won’t be painted: around baths, showers, sinks and kitchen worktops, and on glass. For outside joints around door and window frames, Everbuild Builders Silicone is a neutral cure silicone made for exactly that, and it sticks to almost any surface. General Purpose Silicone White is a good general-purpose option for glass, sanitaryware and other smooth surfaces.
Can You Paint Over Silicone?
No. Paint won’t stick to standard silicone and will peel or bead up. If a gap needs to be painted, use caulk, frame sealant or a paintable hybrid like CT1 Adhesive & Sealant White 290ml instead.
How to Seal Gaps Around Windows
Window frames move a little with the seasons, so the sealant around them eventually cracks and pulls away. When that happens, wind and rain get in behind the frame. Check yours every autumn.
Outside: Sealing Window and Door Frames
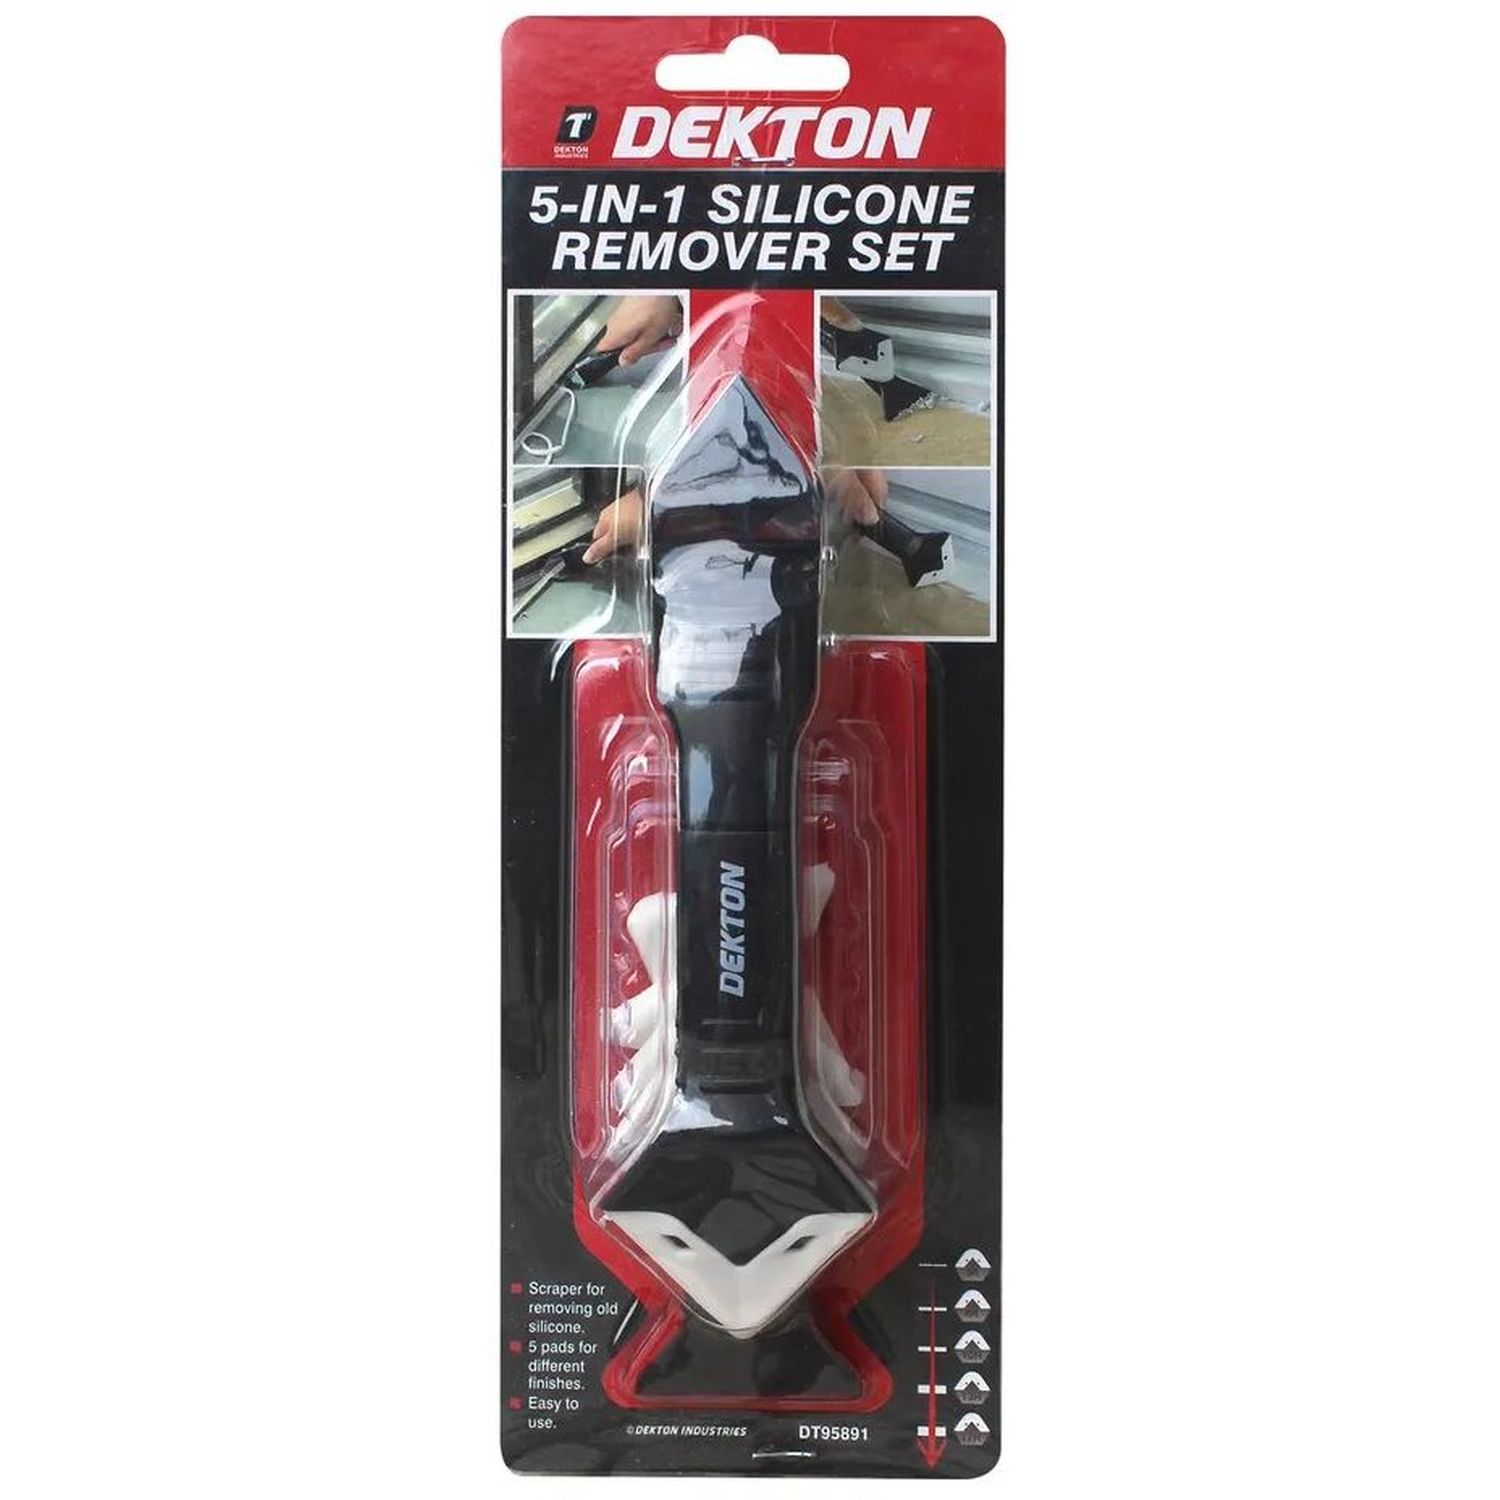
- Remove all the old sealant. Cut it out with the Dekton silicone remover tool. Stubborn residue softens with Problem Solved Silicone Seal Remover 100ml.
- Clean and dry the joint. New sealant won’t stick to dust, old sealant or damp.
- Fill deep gaps first. If the gap is more than about 10mm deep, push in some expanding foam, let it cure, and trim it back before sealing.
- Apply the sealant in one steady bead using a caulking gun. Cut the nozzle at an angle, slightly narrower than the gap.
- Smooth it straight away with a sealant profile tool for a neat, concave finish that sheds water.
Use Everbuild White 290ml Frame Sealant Acrylic if you want to paint over it to match the frame, or Everbuild Builders Silicone for a tough silicone seal on uPVC.
Inside: Gaps Between the Frame and the Wall
Inside, run a bead of decorators caulk where the window frame or architrave meets the plaster, smooth it with a wet finger, and paint once dry. It stops draughts and gives a crisp, finished line.
Best Sealant for Outside Gaps
Outside, a sealant has to cope with rain, frost, sun and constant movement. Here are the right products for the common jobs in our silicone and sealant range.
- Window and door frames: Everbuild Builders Silicone or Everbuild White 290ml Frame Sealant Acrylic if you want to paint it.
- All-weather, quick jobs: Gorilla All-Conditions Sealant is 100% waterproof, can face water 30 minutes after you apply it, and is shrink and crack proof.
- Sealing and sticking in the wet: Everbuild Stixall White is a hybrid polymer that bonds and seals even under water or in the rain.
- Gutters and flashing: Everbuild Roof & Gutter Sealant is a butyl sealant made for roofing and guttering.
- Cracks in render and masonry: Polyfilla Weatherproof 1kg sets to a grey weatherproof finish in 60 minutes and won’t shrink or crack.
How to Reseal a Bath or Shower
Mouldy or lifting bath sealant lets water get behind tiles and into the floor. Cut it all out (never seal over old sealant), treat any mould, and let the joint dry completely, ideally overnight. Fill the bath with water before sealing so it’s at its heaviest and the joint won’t stretch later. Then apply a mould-resistant sealant such as Gorilla All-Conditions Sealant, which is shower-ready in 30 minutes, or Everbuild Kitchen + Bath Sealant, an acrylic bath sealant with an added anti-fungal compound. For a wide or uneven gap, a Polycell sealant strip is a neat alternative that doesn’t need a gun.
How to Use Expanding Foam
Expanding foam is brilliant for big, awkward gaps: around pipes where they come through walls, around new door and window frames, and in holes where cables pass through to outside. Everbuild 500ml Fill +Fix Expanding Foam expands up to 50 times its volume, insulates and deadens sound, and can be cut, plastered or sealed over after about an hour.
- Wear gloves. It sticks to skin and won’t wash off. A pair comes in the cap.
- Use less than you think. Fill about a third of the gap and let it expand.
- Mist the gap with water first to help it cure.
- Trim it flush with a knife once set, then seal or fill over it. Bare foam breaks down in sunlight.
- Clean up wet foam with Everbuild Wonder Wipes, which also shift sealant, adhesive and silicone.
Draught-Proofing: Sealing Gaps Around Doors and Windows
Gaps around opening doors and windows can’t be filled or sealed, because they need to open. Instead, fit a draught strip that squashes when the door or window closes.
- Gaps of 2 to 5mm: Exitex rubber P strip or E strip.
- Uneven gaps up to 8mm: Exitex thick self-adhesive foam.
- Bottom of the door: a brush draught excluder.
- Letterbox: a sealed letterbox.
Never block air bricks or trickle vents. They’re there to stop condensation. For more ways to keep the heat in, read how to keep your home warm this autumn.
Fixing Loose Skirting, Trim and Coving
Sometimes the gap is there because something has come loose. Rather than nailing it back, a grab adhesive is usually quicker and neater.
- Everbuild Overpaintable Instant Nails White grabs fast, fills gaps and can be painted, so it’s ideal for skirting and architrave.
- Gorilla Grab Adhesive holds heavy items straight away without clamps.
- Everbuild Coving Adhesive + Joint Filler sticks coving and fills the joins in one product.
- CT1 Adhesive & Sealant White 290ml bonds and seals almost anything, indoors or out.
The Tools You Need
You don’t need much, and none of it is expensive.
Scrapers and Filling Knives
A Stanley 3 piece scraper set covers stripping, scraping and filling. Add a Stanley 50mm filling knife for finer work and a combination shavehook for scraping mouldings. Plastic filling blades are flexible and won’t scratch.
Caulking Gun and Finishing Tools
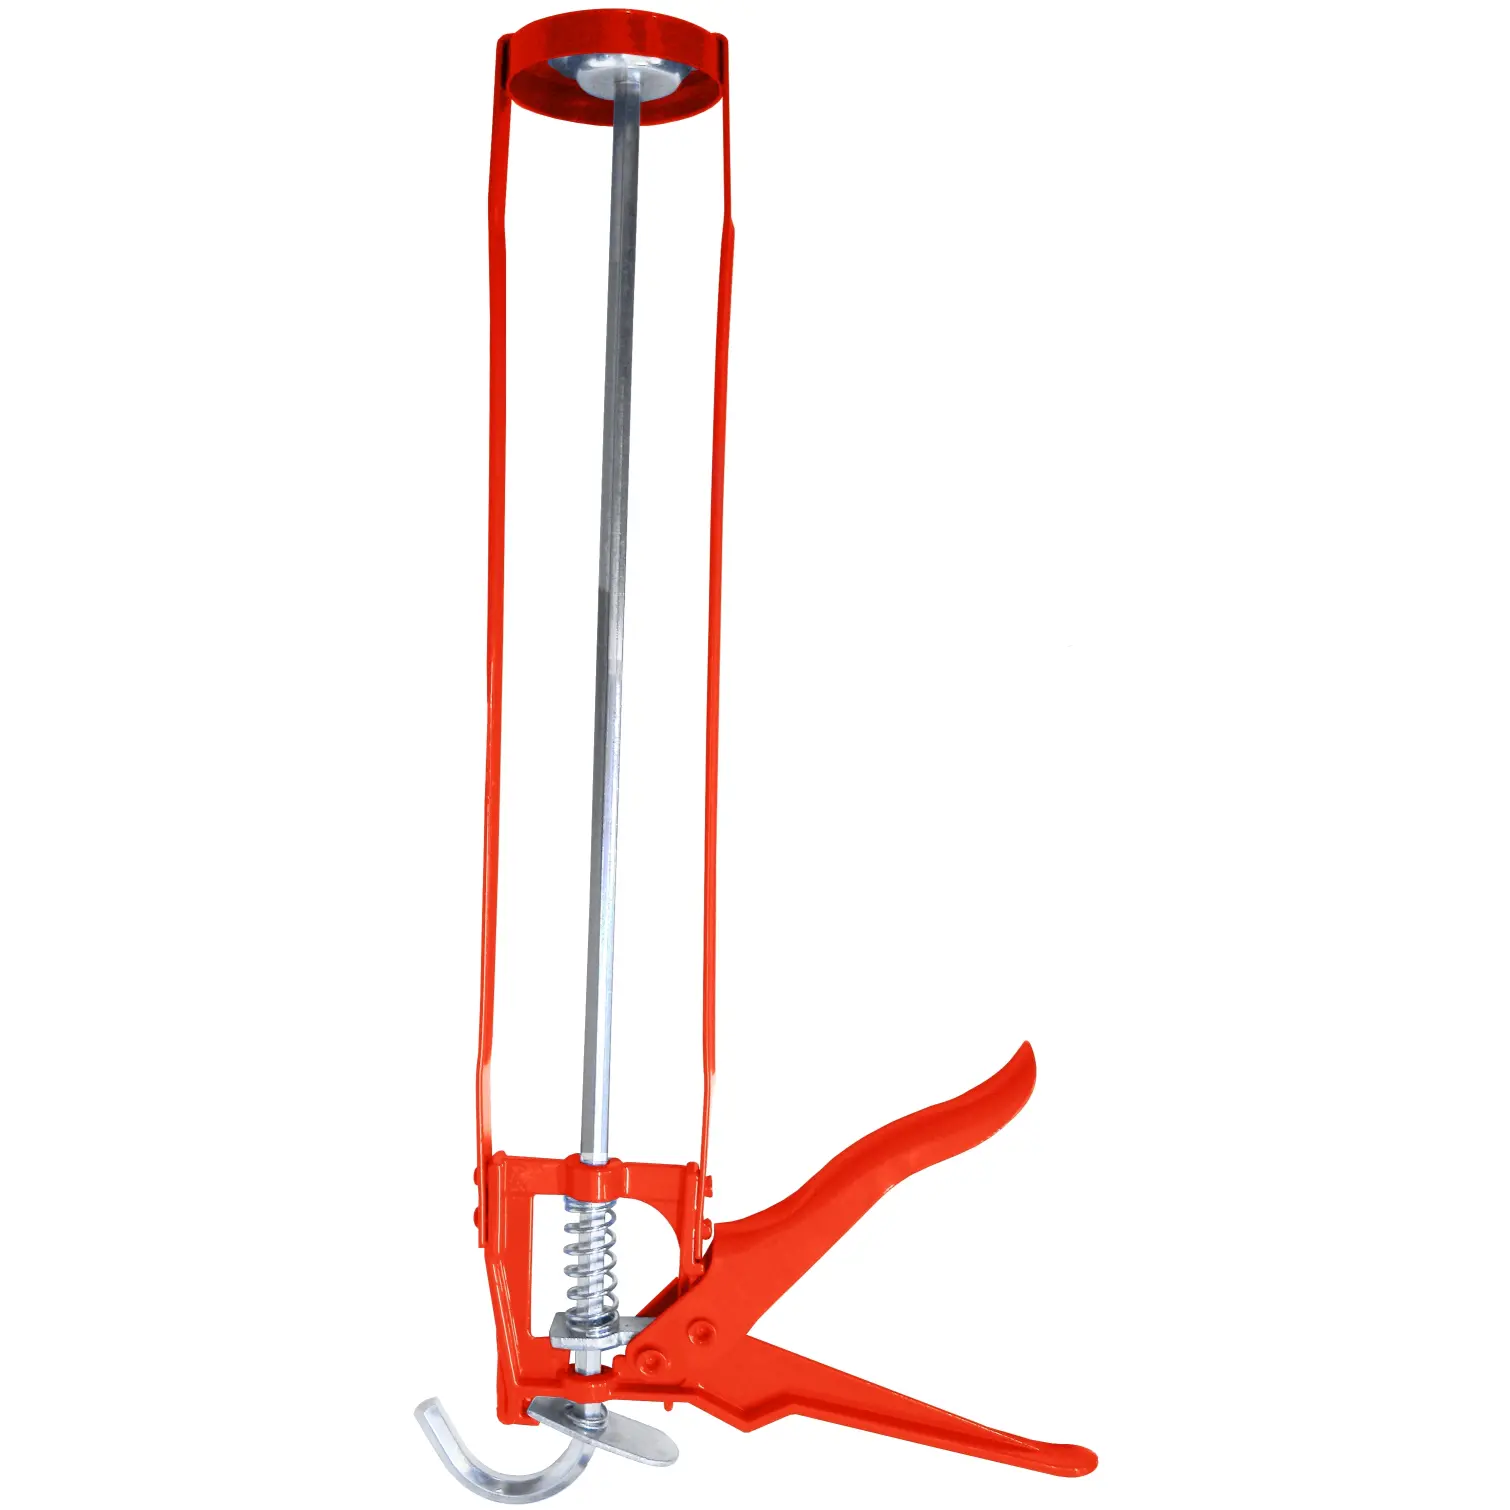
A basic caulking gun does the job. A ProDec revolving sealant gun makes long, curved runs easier. Finish with a sealant profile tool for neat, even beads.
Sandpaper and Sanding Blocks
Use 120 grit for smoothing filler and 180 to 240 grit before painting. A flexible sanding sponge follows curves and corners, and assorted sandpaper sheets cover every grade.
Common Mistakes to Avoid
- Sealing over old sealant. It always fails. Cut it out.
- Using silicone where you’ll paint. Paint won’t stick. Use caulk or frame sealant.
- Using caulk in the shower. It’s not waterproof. Use a bath sealant or silicone.
- Using wall filler on wood. It’s too rigid and will crack. Use a wood filler.
- Filling a structural crack. If it’s wide, diagonal or growing, get it looked at.
- Sealing on a wet or freezing day. Most sealants need a dry joint and won’t cure properly in the cold. Check the cartridge for the minimum temperature.
Our Recommendation
- The three products every home should have: Everbuild One Strike Filler 450ml, Polycell Decorators Caulk 290ml and a tube of Gorilla All-Conditions Sealant.
- Before winter: reseal outside window frames with Everbuild White 290ml Frame Sealant Acrylic and fix rotten sills with Ronseal High Performance Woodfiller Natural 275g.
- Before decorating: fill holes, caulk the skirting and sand everything smooth.
- For draughts: strip doors and windows, and leave vents alone.
Frequently Asked Questions
Should I use caulk or filler for gaps?
Use filler for holes and cracks in a single surface that doesn’t move, like a dent in plaster. Use decorators caulk for gaps between two surfaces, like where a skirting board meets the wall, because caulk stays slightly flexible and won’t crack when the surfaces move.
Can you paint over silicone sealant?
No. Paint won’t stick to standard silicone and will peel or bead. If the joint needs painting, use decorators caulk indoors, an acrylic frame sealant outdoors, or a paintable hybrid polymer sealant.
What is the best filler for plaster walls?
For most jobs, a ready-mixed lightweight filler is easiest because it doesn’t shrink or slump in deep holes and can be painted quickly. For cracks that keep reopening, use a flexible filler. For larger areas of damaged plaster, use a ready-mixed plaster repair.
How long does filler take to dry before painting?
It depends on the product and the depth of the fill. Some lightweight fillers can be painted in around 30 minutes, while standard fillers usually need a few hours, and deep fills longer. Always check the tub, and make sure the filler is fully dry and sanded before painting.
What is the best sealant for outside gaps?
For window and door frames, use a neutral cure silicone or an acrylic frame sealant if you want to paint it. For general outdoor jobs, an all-weather waterproof sealant works well. For cracks in render or brickwork, use an exterior filler rather than a sealant.
Why does my filler keep cracking?
Usually because the crack is moving. Standard filler sets hard and cracks again when the wall or frame shifts. Rake the crack out and refill with a flexible filler or decorators caulk instead. If a crack keeps widening, have it checked for structural movement.
Related Reading
Shop Fillers, Sealants and Draught-Proofing
Browse more: Decorating Fillers, Wood & Plastic Fillers, Silicone & Sealant, Glues & Adhesives, Decorating Tools, Foam Draught Rolls and Brush Strips & Letter Box Covers. Order online for home delivery or Click & Collect from your nearest Home Hardware store.